I know I said yesterday I might not get around to posting a whole lot in the upcoming WEEK, but here's one for ya. I'm actually working on this project right now, but I had to upload some pictures for my boss so I figured I'd take a break and share this with you.
Not too long ago, I decided to add another totally unnecessary project to the list. By now I'm sure you've all seen them...
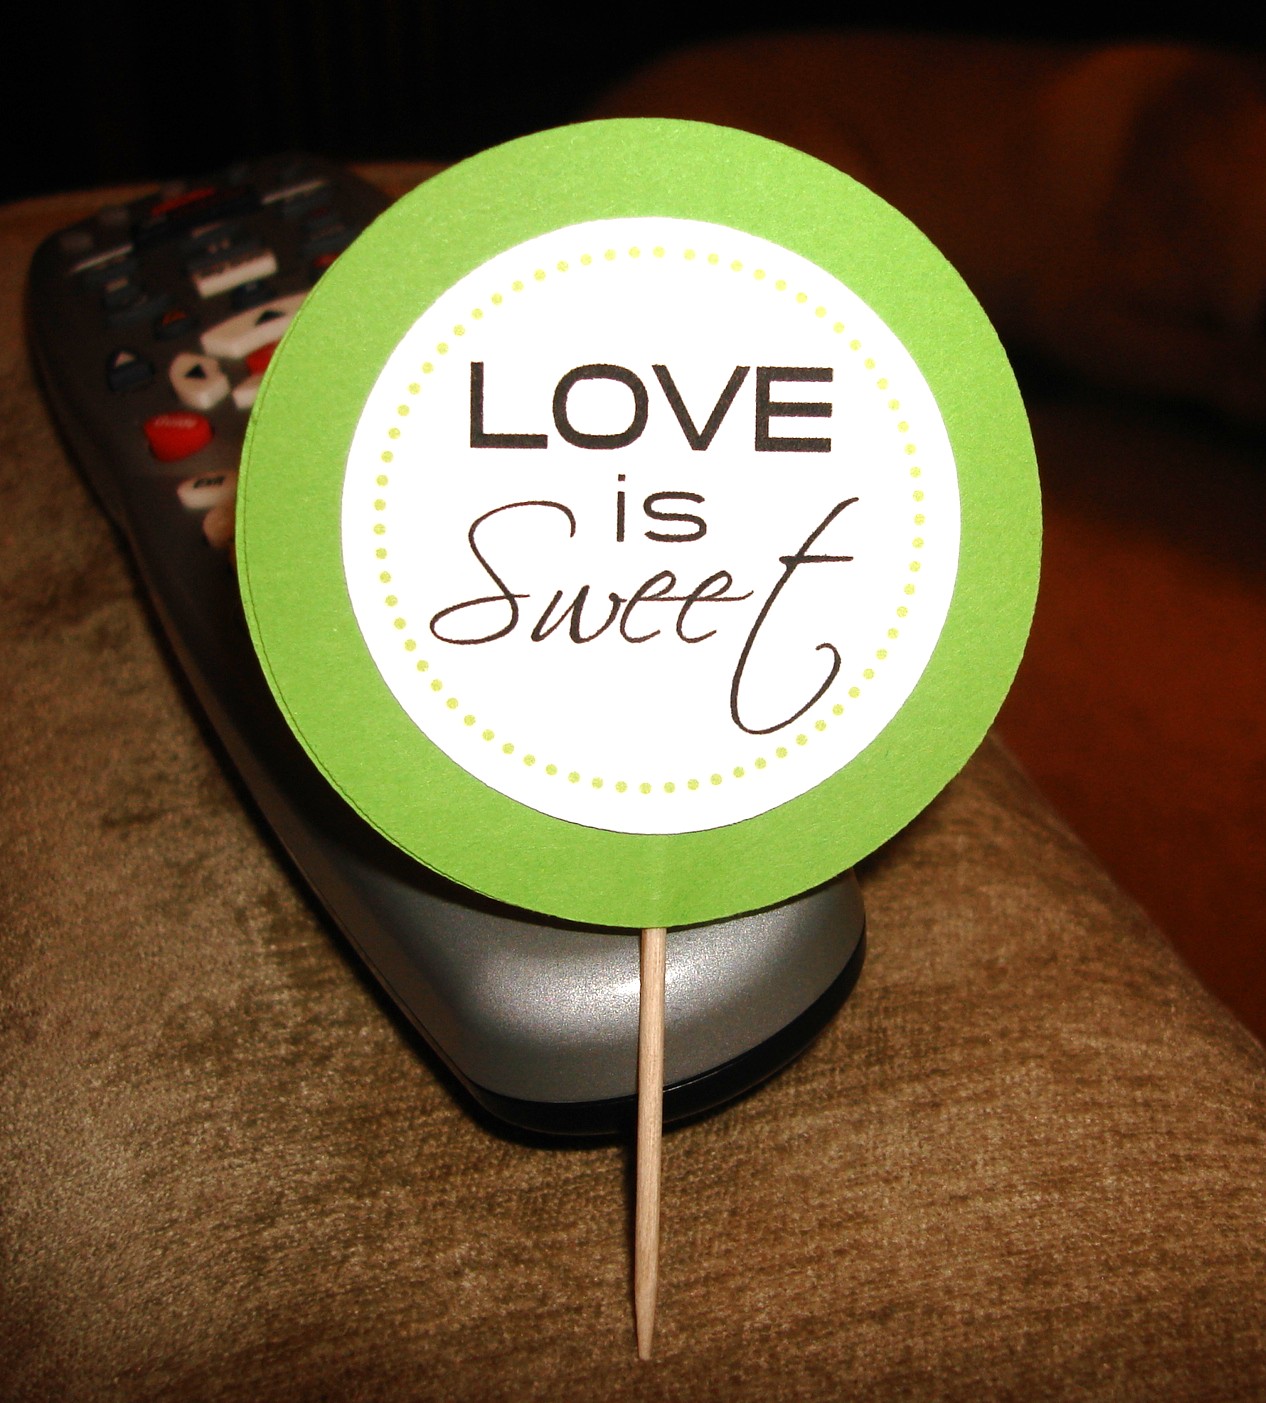
The adorable cupcake picks! But we're not having cupcakes. We're having cake. So after we cut our cake, they will take it in the back and cut it up into squares and bring it out plated to everyone immediately after dinner. I thought these would be perfect for each cake square.
Like I said...totally unnecessary. So it's projects like these that are stressing me out, but I take full responsibility!
Wanna see more?? Like the back maybe?
Okay!
It has MY NEW LAST NAME (almost) and our wedding date.
It's a really simple process, it's just extremely time consuming. Here's how I did it:
1. I printed out a bunch of circles on white cardstock.
2. I cut the cardstock into three strips to work with.
3. I cut out the circles with my Cricut. If you don't have a Cricut, this won't mean much to you. But I figured I'd go into depth for those of you with Cricuts. You can use this method for many other projects.
Start by loading a colored piece of cardstock....this will act as your "template" of sorts. Use the arrows to scoot down on the paper.
Keep using the arrows until you get to a location that is an "even" number and isn't 7 3/8" or something. For this it works if you get down towards the end of your mat, so I put it at 7 down, and then I put it at 2 over so you have some wiggle room.
Then choose your circle, and the appropriate size. I used 2" for the white circles.
And cut!
Now DON'T UNLOAD your paper. Just use the arrow and scoot back upwards past the circle. Take out the cut circle. Now place your white cardstock UNDER the template and center your design under the cutout.
Now just use your arrows and come back to 7 down 2 over. (You should still be at 2 over) Then just repeat your last cut. It will cut in the exact same place, leaving your template alone, and cutting out your white cardstock circle.
Then just trim off that cutout and repeat! I did it this way for all of the circles because I didn't feel like going out and buying a circle hole punch.
Then I also used the Cricut to cut out all of my green circles at 2 1/2" I believe. Then I just attached the white cardstock to the green cardstock.
For each pick, I used two green circles and two white circles. In between I hotglued a toothpick because that will be the easiest to stick into a piece of cake.
And that's all there is to it!! Just remember you'll have to repeat about 200+ times depending on the size of your wedding.
It might be a little faster if you can find a hole punch that is the right size...but in this case you would have to buy two because of the larger background circle.
I can't wait to see these in use and see what people have to say. Just another one of those little details I love!


These are soo cute! I think my mom would kill me if I added another project right now, though. They'd be so cute, though!! Eeeek, I've gotta stop reading blogs.
ReplyDeleteI wish you would have posted this before our wedding. I want to cut our favor tags in circles and couldn't figure out for the life of me how I would do it. My freakin' cricut could have done it!
ReplyDeleteThey look amazing though.
I totally would have...but they are definitely a LAST MINUTE project! haha
ReplyDeleteBut now you know for future reference =]
Laura....you should totally just do it anyways!
Ha, I think I'm going to. (That took a lot of convincing!) I showed one of my bridesmaids and she said, 'We're doing it. Let's go to Hobby Lobby now!' Haha! It'll have to wait until next week, though.
ReplyDeleteOooh yay!! I can't wait to see how they turn out! And I think it will be a LOT faster if you use a hole punch for the circles. It takes awhile to do the lining up on the Cricut.
ReplyDelete