Showing posts with label reception. Show all posts

Tuesday, May 18, 2010

DIY: Wine Glasses and Beer Mugs

I don't know if I ever shared this with you...but I bought beer mugs and wine glasses from Dollar Tree awhile back to give to our bridal party, ushers, and parents.  They're both HUGE and really thick, high quality glass.  And they were only $1!

But they were super boring.  So I did a little work on them =]

The wine glasses:
I painted the base and then etched in their names on the top.

The base was really simple.  In this example, I started painting black zebra strips first on the underside of the base.  I just used acrylic paint for this.  Then I painted the green over top of it.  So if you look at the underside, all you see is green.  Then I used a clear acrylic sealer spray that was made to use on glass.  And that's all there was to it!

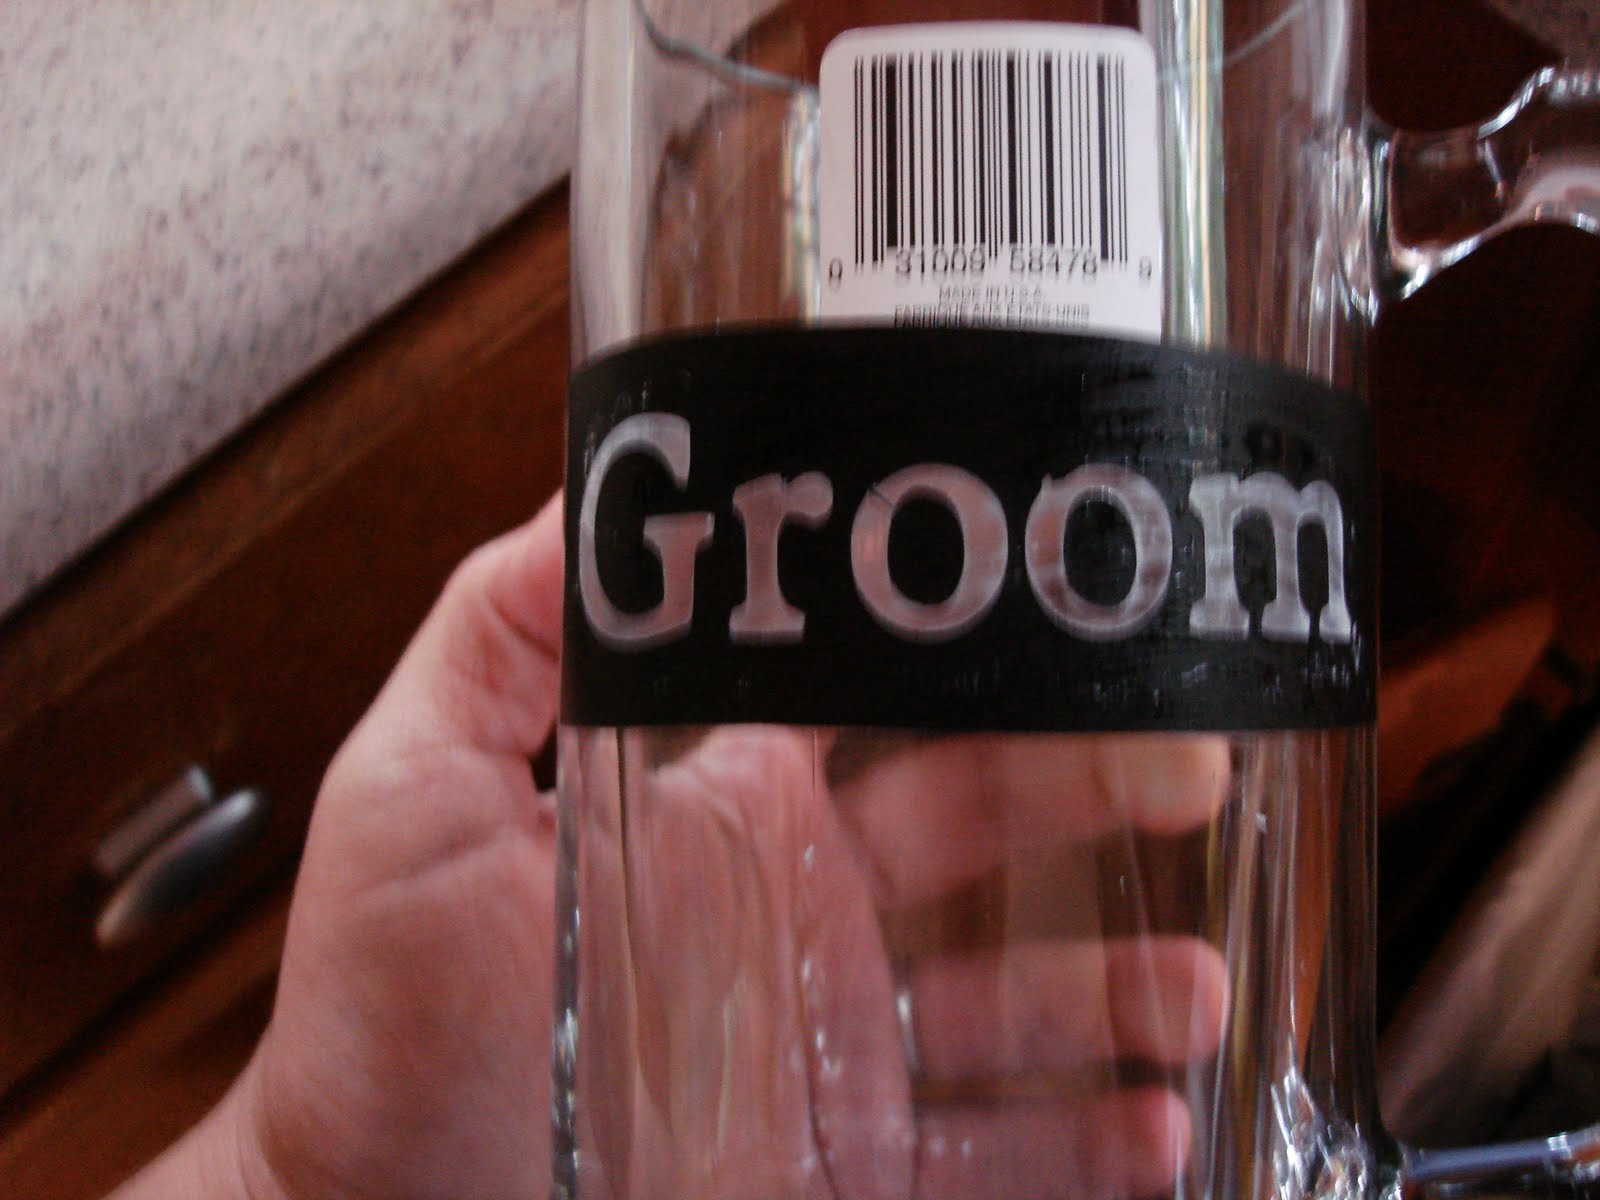
For the etching I cut out all of the names on vinyl with my Cricut and used the "stencil" that was left when you pulled out the letters.  Here's how it went with the beer mugs.
Make sure to save the insides of letters like O's E's, etc.  You'll need them.
Peel off the backing to expose the stickiness and place the vinyl on the glass.  Fill in those little pieces where they belong.
Then apply the etching cream.  You can buy this at any craft store I believe.  I got mine at Hobby Lobby.
Then wait five minutes and wipe it off.
Peel off the vinyl.
You can see there's still some cream on there.  Just give it a good wipedown and they'll be good to go!

These glasses will be placed at their seats at the reception so they can use them all that night at our open bar =]  I'm hoping it will be a fun surprise when they show up.  Hopefully they'll feel special using their own glasses all night.

Are any of you doing mugs for your wedding party??

Monday, April 19, 2010

DIY: Escort Cards, Revisited

Hey all...it's been forever I know...but I have been following all of you, I've just been to lazy to post anything lately.  So I'm sorry!

But I'm back, for awhile anyways.  I'm going to be crazy busy from now until the wedding...I can't believe it's only 33 days away!

But anyways, I showed you all my escort cards quite awhile back.  If you don't remember, they looked like this:
I was planning on having these all laid out on a table when you first walked in, and each guests' table number would be on the inside.
Well I've since decided against that, and I'll be doing something a little different to show each guest to their table.
But I did realize that we'll need cards at each seat, because we're offering a choice between two entrees and we'll need a way to differentiate that so the waiters know who to serve what.  Our event coordinator recommended doing a little rhinestone or sticker or something on each card, but I wasn't really a fan of any of those options.
So I'm going to do this same design, with a different tent for each entree.
The green tents are for the chicken entree, the black for the steak, and the white is for the kids meals.

I sat down the other day and got done all of the people that have RSVP'd so far.
These will be put at each seat, but I'm going to try to figure out a way to let people know that they are free to move around at their table, they just need to make sure their tent follows them.


Are any of you dealing with multiple entree issues??  How are you distinguishing the two choices?

Tuesday, February 2, 2010

DIY: Coasters, Part Two

Part One

While I was back at home for two weeks recently, I finally got around to getting my coasters done.  Most of them anyways.  Back in part one I said I was going to use the StazOn ink in black to stamp on them, but I changed my mind a little bit after running across some awesome embossing powder at the Unclaimed Freight store I was telling you all about.
I already had green pigment ink in a very similar color, so I decided to stamp on the coasters in green, and then emboss them with the green powder.  We just so happen to have an embossing heat gun laying around the house from my mom's stamping days, so it worked out perfectly.
I didn't take any pictures along the way, but basically you get your stamp inked really well, stamp onto your surface, and then coat the entire thing with embossing powder. 
Don't worry about using too much, because all you do is tap it off onto a piece of paper and funnel it back into the container.  After doing 100+ coasters the container looked like it had been barely touched.
Then all you have to do is heat up the powder and watch it turn.
I was doing all of them the first way and my sister came in and said I should do them on an angle to make them "more interesting."

Right now I have somewhere around 100 done, and I need to figure out how many more I want to do.  They're going to be sitting at the bar, so I don't know if everyone will grab one, if some people will grab one with each drink, etc.

Side story:  So you know the little caddies at a bar that hold napkins and straws and stuff?? Maybe?  Well I was telling my sister how I wanted to steal two of them from the bar we always go to, and she was saying she could probably get her friend's parent to get them for me since they own the bar.  I probably mentioned this like three times.  Then one day Mr. T's mom took me to a new little store in town to buy some spaghetti bowls she thought I would like.  It was a restaurant supply store that was open to the public, and a few rows in we found exactly what I was talking about.  There were two of them, they were black, and they were only $1.82 each!
In case you don't know what I'm talking about:
The coasters fit in perfectly, and now I want to find some cute straws and make some drink stirrers to go in those other little cubbie holes.  I'm pretty sure all 100+ fit in that container.  So then there will be another 100 at the other bar, and I can leave about 50 at each for refills as the night goes on.

And thanks to some of you girls, I was able to sell most of the extra coasters, so this project only ended up coasting me about $10 not including the stamp.

Tuesday, December 8, 2009

DIY: Coasters, Part One

Wanna know my current favorite aspect of planning my wedding?

Getting boxes in the mail all the time!  I think it's the build up that happens when you're waiting and waiting and waiting, and you know it should be here at any time, and then there's a knock on the door, and if you're like me you go running to answer it hoping it's your package.  In my case, it's usually not...but when it is, I get so excited.  And yes, I'm a dork, I realize that.
But anyways, this is one of the latest packages to show up at my doorstep.  Although this one went to my house, so I didn't get to run to the door like a little kid.  But I did get to open it up when I got home, and this is what I saw.


I ordered coasters from Katz Americas that I'm planning on using for the cocktail hour and throughout the reception at the bar.  Unfortunately, it was a minimum order of 1000 coasters, but the price wasn't bad, so I went for it.  For $33 including shipping, they sent me blank coasters of medium thickness.  At the moment, you can't order blanks from the website, but if you call their phone number, they'll get you all set up.


I'm going to use my custom "Eat, Drink, and Be Married." stamp that I ordered from Etsy along with another stamp that I've got in the works.  I would like for the coaster to also say our names and our wedding date, so I need another stamp for that.  I already bought the StayzOn ink that I've read multiple places works perfectly for this so it doesn't bleed when the coaster gets wet.  I bought mine at Hobby Lobby, but it's available at many stores and also online.  It's a little pricey at around $8 so make sure and use a coupon if you have one!
I haven't actually stamped on any of them yet, because I need to get that second stamp.  But as soon as I do, I'll let you guys know how it goes!
Oh and by the way, if any of you are interested in buying some of them, I'd more than happily oblige.  There's no way I need that many!


Wednesday, August 26, 2009

Our Venues, Part Two: The Reception

We were engaged around 3:00PM, back home to IL around midnight, and had our venue picked out by about 12:30 that night.

Not officially or anything, but we definitely knew where we wanted to be....or so we thought.  We were both originally planning on going with The Country Mansion in the neighboring town of Dwight, IL.  The place is gorgeous, we've both been to weddings out there, and let's face it..there just aren't many choices when you're living in the town we live in.  As an added bonus, it would only be about 5 minutes away from the church.

So I called them up and got a price list from them and made sure that our date was available and then had her "hold" the date for me for a week.  At the end of the week we still hadn't made any choices so she continued to hold it for another week.  During this time my mom was talking to her friends and the Morris Country Club came up as a suggestion.  So we decided to go check it out.

From the moment we got there we were all sold.  Tim Gourley, the manager and man in charge of weddings is wonderful to work with.  He treated us all to a brunch the day we went out to have a look so we could test out the food a little and see what we thought.  And let me tell you, it was absolutely delicious!

Let me show you what made us change our minds....
Just look at the gorgeous tented ceiling!  It is heated in the winter and air conditioned in the summer.
The round tables will be covered in floor length white linens.
Where the head table will be....and do you see those beautiful chivari chairs?? They're included =]
The entrance from the parking lot.  There are another set of double doors at the end of this hallway to enter the main room.  The table with seating cards will be placed out here along with a surprise I'll share with you later.

And the bonus?  I know you're probably wondering how a beautiful place like this could get any better....but I'm about to shock you all.

It's free.  Yes I said free =]  The room rental is free, the tables and linens are free, the chairs are free, the plates, cups, silverware etc. are free.  There is no cake cutting fee or any other silly things like that.  The only thing we have to pay for is the food and the alcohol.  We will have the place for 6.5 hours or so.  Our contract says it goes until 11PM but we are allowed to stay past then without any additional fees if the party just isn't ready to stop.
The reason for this awesome deal is because they just recently put up this tent and switched managers, so Tim is trying to start over and really start to build up this aspect of the Country Club.  In time they will charge for all of these things, but for now he's just trying to get people in.
And in case you're wondering, the food isn't outrageously priced.  We're most likely going with a $20 dollar plate along with the option to have a $7 kids meal.
Yeah, it's gonna be awesome.  Feel free to be jealous.  And then, if you're from the area, give Tim a call.

Friday, April 17, 2009

Candy Buffet


I absolutely love the idea of having a candy buffet at my reception! I think it is adorable and adds a playful element to it all. I'm thinking of doing something in all greens to match my colors, but we'll see. That would kind of limit it to all green apple and lime candies and that's a little boring. A lot of people are doing this instead of a traditional favor. I'm thinking this would just be a fun extra, but still do a favor.

Here's the sign I'm going to put in a frame out on the table. "Love is Sweet, Help yourself to a tasty candy treat."


I've seen many people use cute take out boxes for the candy, as well as decorated paper bags and boxes.

The possibilities seem pretty endless with this, and I really think it's something the guests would enjoy.
Related Posts with Thumbnails