We're having our ceremony at a church out in the country, 20 miles south of town. Only a few of our guests have ever been there, and most of them don't even know it exists. So I thought we needed a way to make finding it a little easier.
So I made a trip to Menards the other day and bought some wood. (It would have been much easier to go out to my dad's shop and find some scraps, but I wanted to finish this project before heading back home to IL)
After some painting, this is what I came up with:
On the back it says Reception with an arrow facing the other way. There is also another sign that says Wedding, I just haven't finished it yet. The reception really isn't that hard to find, and most people know where it's at, but I figured since I was doing a wedding one, I might as well do a reception one too.
Now all it needs is a post to stand on, and some balloons to make it more noticeable. We'll figure out the stand when we get back home.
Materials:
-(2) 18"x36" boards (or the size of your choice!)
-Acrylic paint
-Paintbrushes
-Printer and computer
So here are the steps, it was really easy to do!
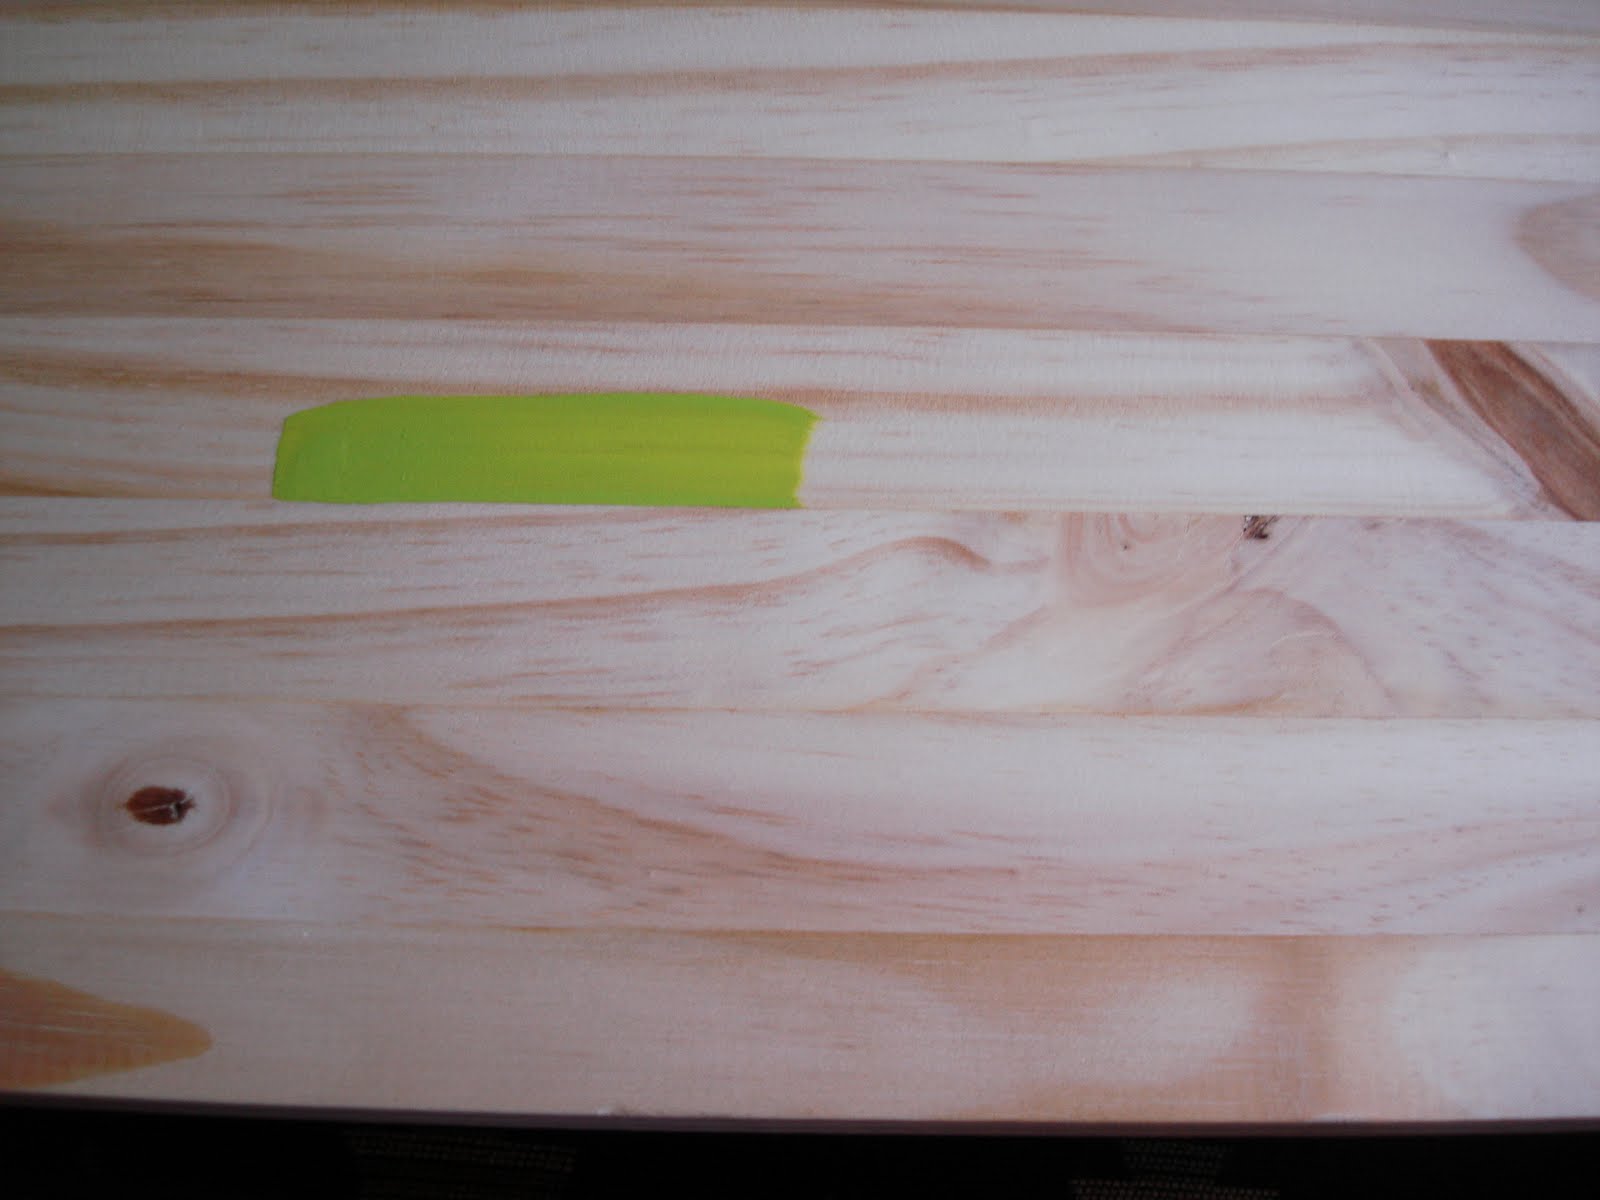
I bought the wood from Menards. It's pine and measures 18"x36". It's one of those packaged boards that are made up of thin strips glued together. This actually made it a lot easier for painting the arrow.
If you look close in this picture, you can see the seams that run horizontally. I painted along them to make the top and bottom edges of the arrow. For the bottom edge, I started 3 seams up.
The top edge of the arrow is five seams above that.
Doing it this way made it so I didn't have to print out a template, or break out a straight edge and pencil.
Then just keep painting using those edges as your guide until you've made your way down the majority of the board.
Then you need to paint the end cap of the arrow. I just did this freehand, but painting vertically to connect the top and bottom.
Then you do the same at the front end of the arrow where the head will be.
Then paint vertically, up two seams.
And do the same going down two seams.
Now you need to finish the head of the arrow. So to do this, I made a dot in the center of the body, out ahead of it. Since the body is 5 "pieces of wood" thick; make a dot in the middle of the third one.
Then connect this dot to the vertical lines you painted. Here's where a ruler would come in handy, but I just freehanded it.
And then fill in with paint!
Depending on the color, it may take more than one coat.
Now for the wording.
Pick the font of your choice, and blow it up really big. I think when I did this, I fit 3 letters to a piece of paper. Now lay these out on your board how you'd like.
Then all you have to do is trace around the edges with a pen. As you write on the paper, it leaves an indent on the wood.
Then all you have to do is paint inside the lines and you're good to go!
And then I'm planning on putting a coat or two of polyurethane on it to protect the paint and the wood, but I'll do that at home as well so I don't have to go out and buy any.
Price Breakdown:
2 pieces of wood and tax = $17.20
paint (already had) = $0
Total: $17.20
We'll be making the stands out of scrap wood at my parents' house, so that doesn't factor into my price. The only other addition will be the balloons, but those will be a last minute thing.
Hopefully this can be of help to some of you! Even if you're not planning on making signs, I use the pen indent on wood method for a lot of craft projects that I do.